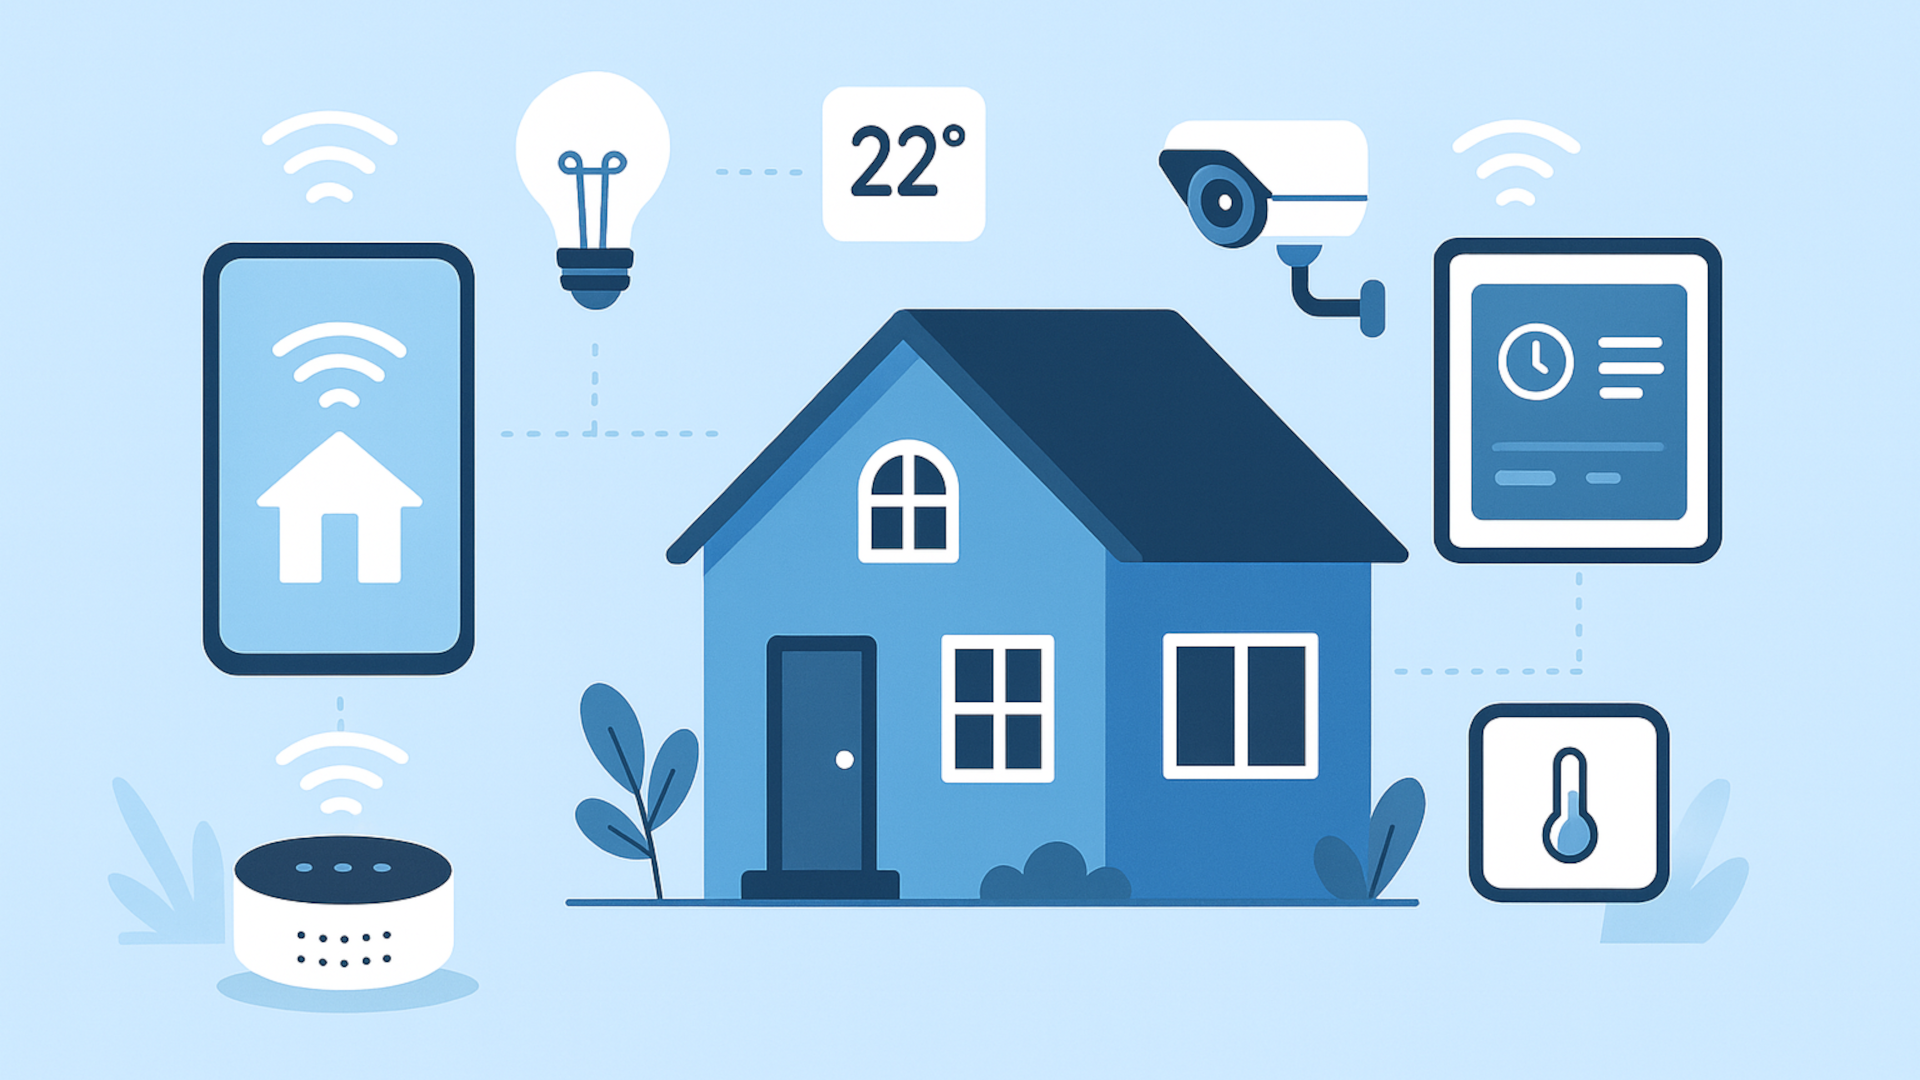
Having a smart home has been a game changer for me. It’s not just about cool gadgets; it’s about making your life more convenient, more efficient (think lower utility bills) and secure (notifications when I’m away from home). While the sky is the limit with automating your smart home, I’ve found a number of core automations that have become indispensable in my smart home.
Here are some of my favourite home automations that I use and love.
My smart home is powered by Home Assistant (HA) so any blueprint, automation or script shared here are based on that platform. If you are using other platforms (Apple Homekit, Google Home, etc.), you won’t be able to use my automation code. However, you can still create similar automations since they have the same triggers-conditions-actions structure.
💡 Motion Activated Lighting
Let’s start off with the most basic and most commonly used automation - motion activated lighting.
This automation is particularly a life-saver for me as I have a toddler at home. I have strategically placed a motion sensor near her bedroom to ensure that if she needs a nighttime trip to the toilet, the lights will turn on automatically which eliminates the need for me to fumble for distant light switches.
- Motion sensor
- Smart bulb, switch or light
How the automation works: Most motion sensors are operated with a button battery and provide 2 attributes: a binary on-off state for motion and a numerical value for illuminance. These 2 values are used to activate the automation.
Triggers: Motion is detected.
Conditions: The illuminance is below the given threshold (we only want to execute the automation if it’s too dark).
Actions:
- Turn on the light.
- Wait for the motion sensor to clear (i.e. no movement detected).
- Turn off the light.
| |
- Shadows, reflections, and movement caused by wind (e.g. fluttering curtains) may trigger motion sensors.
- Motion sensors have a cone-shaped detection zone and typically have an optimal range where it can detect movement reliably. Too close, you will be in its blind spot; too far, you will be out of the detection zone.
- Continue to fine-tune by re-positioning your motion sensor or adjusting its sensitivity and detection interval for the best results.
🛋️ Adaptive Lighting
This quality-of-life improvement can be used in conjunction with other lighting automations such as the motion activated lighting mentioned above. Its main purpose is to set up warm lighting and dimming the light during nighttime to reduce eye strain and for a cozy ambience as you wind down for the day.
- Smart bulb or light
How the automation works: It’s self-explanatory given the triggers and actions below.
Triggers:
- By scheduled time.
- The light is turned on.
Actions:
- Determine the brightness and color temperature based on the current time.
- Set the brightness and color temperature of the light.
I don’t have any automation code to share here since I am using HA’s Adaptive Lighting custom integration to set this up.
❄️ Turn Off the Air-conditioner When Doors/Windows Are Open
This is an energy-saving automation which switches off your air-conditioner when your door (or windows) is open.
- Contact sensor
- IR/RF blaster (for controlling your air-conditioner)
Setting up the contact sensor
The contact sensor consists of 2 parts: the sensor body and a small magnet.
- Mount the sensor body on to the door frame.
- Mount the magnet on to the edge of the door. It should be positioned so that it is aligned with the sensor body when the door closes.
Setting up the IR/RF blaster
Most air-conditioners do not have smart home capabilities, so an IR/RF blaster is used for control. To set up the IR/RF blaster for use with your air-conditioner,
- Execute the
remote.learn_commandaction on the IR/RF blaster:1 2 3 4 5 6 7action: remote.learn_command target: entity_id: remote.ir_rf_remote data: command_type: ir device: air-conditioner # a user-friendly name describing the device command: "off" # a user-friendly name describing what the command does - The IR/RF blaster will wait for the IR signal. Point the remote of your air-conditioner at the IR/RF blaster and press the corresponding “off” button.
- The IR/RF blaster captures the IR signal and saves it for future use with the
remote.send_commandaction.
How the automation works: The automation is triggered by the contact sensor’s state change after 2 minutes (or any amount of time you have configured). The IR/RF blaster sends the “off” command by mimicking the IR signal from air-conditioner’s remote, turning off the device.
Triggers: Door is opened for more than 2 minutes.
Actions: Send “off” command using remote. (Possible variations include playing a chime on smart speakers as a reminder.)
| |
🔊 Announcements for Home Appliances
For the ultimate relaxation, announcements beat notifications since they provide information to you without you having to grab your phone. For example, play an announcement when the washing machine has completed its cycle. Take a load off your mind - no more worries about mildew and musty odor!
- Smart speaker
- Smart appliances (for example, washing machine and dryer)
How the automation works: When the washing machine has finished running, play an announcement every 15 minutes (or any amount of time depending on how frequent you want to be reminded) until the dryer starts running.
Trigger: The washing machine has finished running.
Actions:
- Repeat until the dryer is running.
- Say “The washing machine has finished running” on speaker.
- Wait until the dryer starts to run with a timeout of 15 minutes.
| |
🚨 Network Video Recorder (NVR) Notifications
This automation utilizes a NVR to monitor for movement or persons in IP camera streams. When there is a detection, it sends a notification containing a sample video of the event.
- NVR
- IP camera
For the NVR, I choose Frigate , a free open source solution since my hardware has a supported integrated GPU (iGPU) required to perform the detection.
Setting up the NVR and IP camera
The set-up for IP cameras varies based on the manufacturer, but the typical steps will involve the following:
- On your IP camera, configure the credentials for the RTSP stream. This allows you to securely and remotely view live feeds over the network.
- On your NVR, add the camera’s RTSP stream.
- Configure the NVR detector (for example, detection zones and persons) for the RTSP stream.
How the automation works: Frigate sends a JSON formatted MQTT message when it detects a person. We then configure the trigger of the automation to filter for MQTT messages that match your desired camera and event type. For the actions, we simply wait to capture sufficient footage for a preview before including it in your notification.
Trigger: The NVR detected a person.
Conditions: No one is at home.
Side note: There are many ways to determine “Away” status. You can use a toggle switch, Wi-Fi SSID status of your mobile, geofencing of mobile location or presence sensors.
Actions:
- Wait for 30 seconds (or any amount of time) to record some footage.
- Send the preview as a notification to your mobile.
The automation code is rather complex, but you can use the community created Frigate Mobile App Notification 2.0 Blueprint to easily create the automation through a few mouse clicks.
Conclusion: General Guidance on Automating Your Smart Home
Home automations are highly personalized and what I’ve shared may or may not suit you. The key is to identify repetitive tasks, the rules for triggering and the actions for buildidng your own automations.
Here’s some general tips:
- Keep automations simple. It might be tempting to create a single automation that handles all scenarios for a device. However, that might lead to a complex automation with triggers and conditions that interact in unexpected ways, resulting in an unreliable automation that’s difficult to understand and troubleshoot.
- Make automations intuitive for family members. Explain how the automations work so any automated behavior does not feel bewildering.
- Retain manual control. Sometimes sensors fail, run out of batteries or your smart home platform becomes unresponsive (crashes, system updates, etc.). Always ensure your home remains functional even when your smart home capabilities are offline. For example, standard light switches for turning on/off lights.