Whether you are a sysadmin, cybersecurity professional, software engineer or just someone who is passionate about technology, a home lab is a personal playground for learning, experimenting and building technical skills.
Many people, including myself, also use it for self-hosting of apps and services for family and friends.
But how should you start building one? Let’s dive into the hardware essentials that form the backbone of a home lab.
Compute: Your Home Lab’s Engine
The first hardware that you will need is a machine that runs your home lab. We have the following options:
1. Small Form Factor (SFF) PC
Examples: Raspberry Pi, Mini PC
An SFF PC is my recommendation for starting a home lab:
- Footprint. They are tiny and ideal for homes where space might be a constraint.
- Cost. They are affordable and have low power consumption, making them both cheap and environment friendly! You can even consider buying 2 of them to experiment with clustering for your home lab.
- Performance. While the least powerful of all options, their performance is adequate for most home labs or even supporting a small group of users for everyday tasks.
- Upgradability. Upgradability is often limited since components are typically soldered directly to the motherboard. However, with proper planning, your hardware should easily serve the needs of your home lab for the next couple of years.
2. Desktop PC
Desktop PCs are a popular choice, especially if you have an existing one that you can repurpose. This allows you to experiment before commiting to the investment of dedicated hardware.
- Footprint. Fits nicely on most desks.
- Cost. Although desktop PCs are more expensive than SFF PCs, they remain affordable. Repurposing an existing desktop is a great way to get started with zero cost.
- Performance. Desktop PCs have a wide range of performance depending on your build.
- Upgradability. Desktop PCs are modular and typically support multiple expansion slots, making them versatile and easy to scale as your home lab grows.
3. Enterprise-grade Servers
Examples: HP Proliant, Dell PowerEdge
I would advise against using enterprise-grade servers since they are designed to be used by businesses in data centers or server rooms. They are also noisy, making them ill-suited for a home environment.
- Footprint. Servers are large and heavy and require specialized racks for mounting.
- Cost & Performance. Servers are expensive because of their durability (for continuous operations) and extreme performance. Their high power consumption also leads to larger electrical bills.
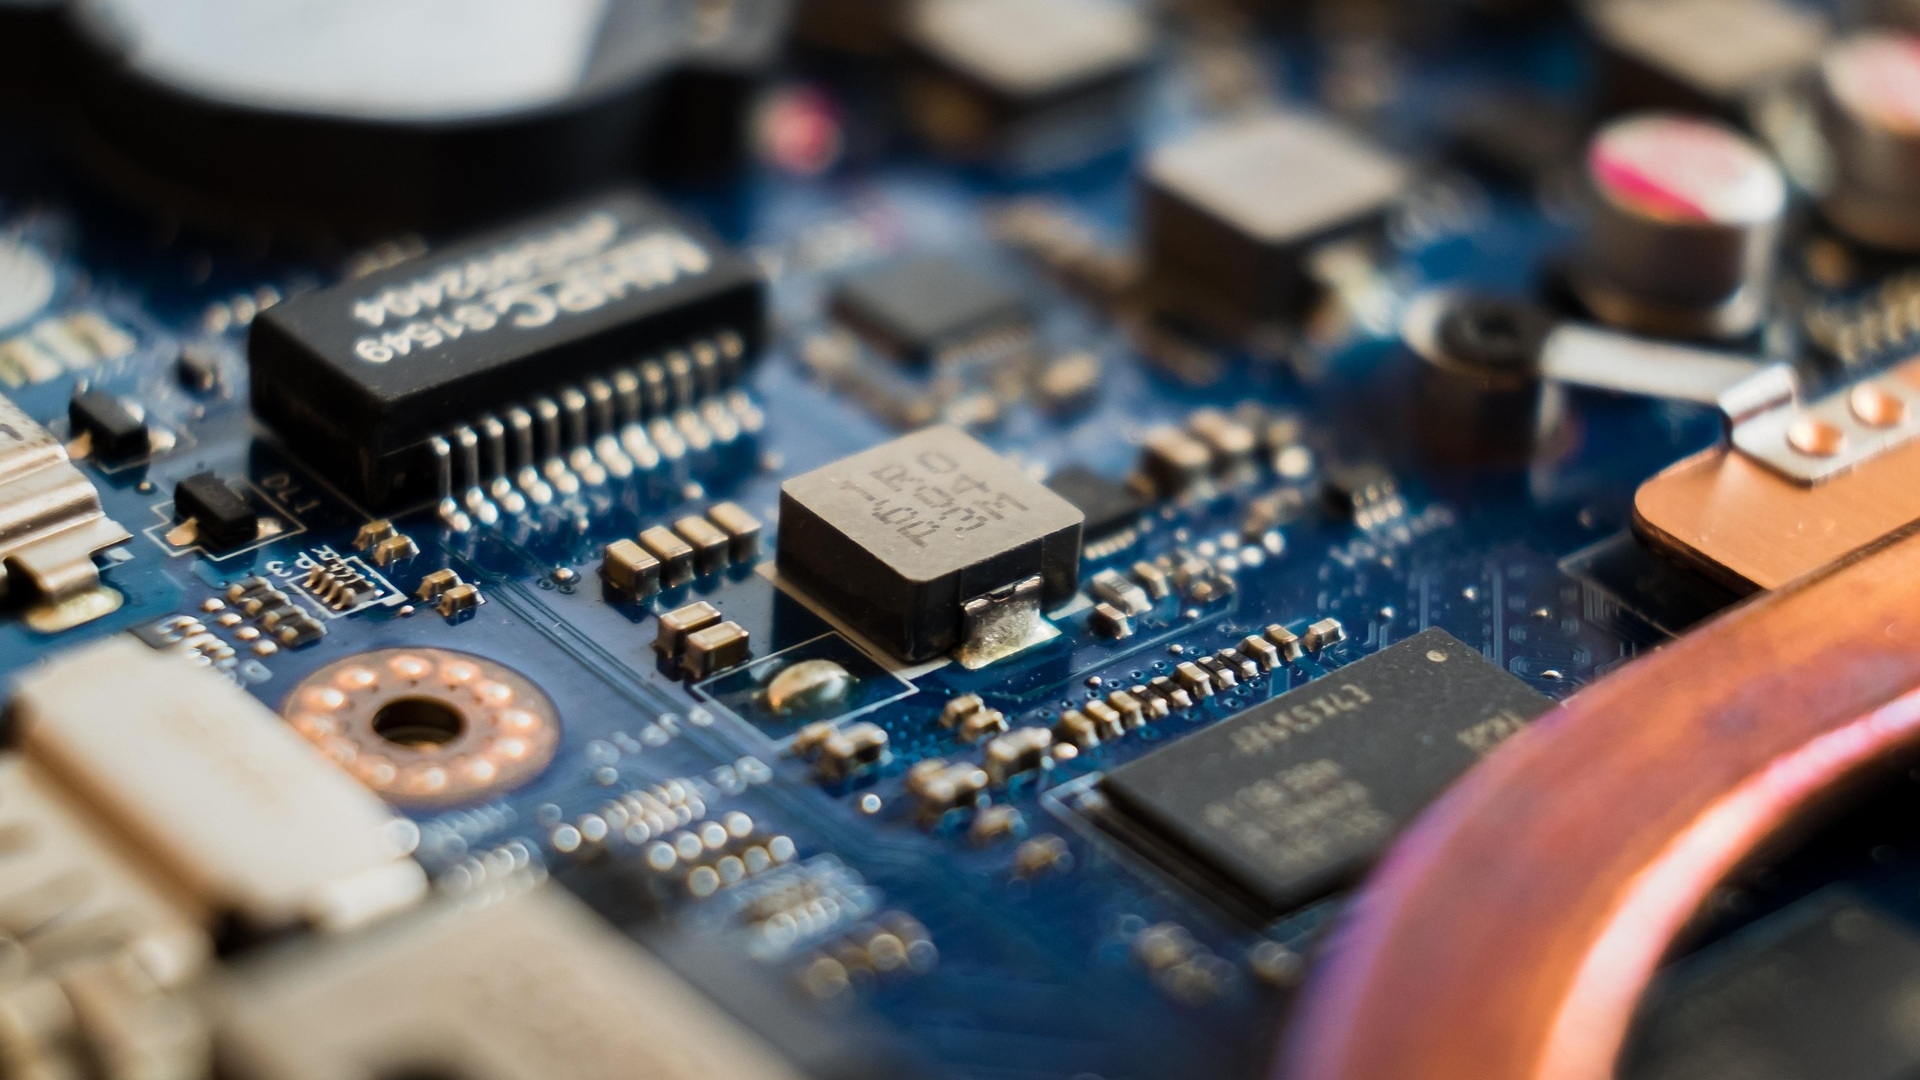
Hardware Specifications
Once you have decided on one of the above options, you will need to right-size your hardware by choosing the specifications for your CPU, RAM and Storage.
CPU
Your CPU’s primary job is to manage the Virtual Machines (VMs) and/or containers that you are running in your home lab. Generally, the number of cores and clock speeds have an impact on the performance of your home lab. However, I would advise not to splurge on a high-end CPU. Many types of workloads are input/output (I/O) dependent, so having a high-end CPU may not necessarily translate into high performance.
Besides the number of cores and clock speeds, you will also need to consider if you need integrated graphics (iGPU). Although iGPUs are not powerful enough to run heavy workloads such as AI/ML, they are still capable of offloading a wide range of media processing tasks for your main CPU such as:
- Media transcoding
- Processing images/videos from Network Video Recorders (NVRs)
- Face detection and recognition of photos
- Text-To-Speech (TTS) and speech-to-text for voice assistants
Random Access Memory (RAM): More is Better
Between capacity (in GB), clock speeds (DDR4/DDR5) and Error Correction Code (ECC) feature, capacity is the most important consideration. Every VM/container that you run will use up a chunk of memory and running out of RAM means your system will grind to a halt.
I would start with at least 16 GB to ensure smooth operations in a home lab.
Storage: Speed is Paramount
In a home lab running multiple VMs/containers concurrently, the primary performance killer is often the I/O bottleneck. To avoid this, you should choose Solid State Drives (SSDs) over traditional Hard Disk Drives (HDDs).
As SSDs are more expensive, and a common cost-saving strategy is to use a hybrid approach for storage:
- SSDs (the speed tier): Used for VMs/container images, Operating System (OS), application binaries, configuration files and any frequently used files.
- HDDs (the value tier): Used for logs, data files, backups and anything less frequently used.
Given the size of VM/container images, you will want to start with least 250GB of SSD storage for your home lab.
Connectivity: Wired over Wireless
Wired connections such as Ethernet or fiber optics offer 3 key advantages over Wi-Fi:
- Reliability. Connections over a stable link has lower proportion of dropped network traffic.
- Low latency. Thanks to minimal signal interference, network latency can be as low as <1ms.
- Security. Wired networks offer inherently better security than wireless connections.
Hence, a wired connection would be a preferred choice.
Next Steps for a Home Lab
We’ve covered the hardware essentials which is sufficient to get started on the software side. (A full home lab typically includes more hardware such as networking components and NAS.)
In the next blog post, we’ll explore hypervisors for managing your VMs and containers.