It’s October, and that means 1 thing for the open source community: Hacktoberfest! This year is my first participation, and I’m eager to complete the ultimate challenge: to become a Super Contributor 🏆.
What is Hacktoberfest?
For those unfamiliar, Hacktoberfest is a month-long event organized annually by DigitalOcean to encourage everyone (coders and non-coders) to contribute to open source. Much of the modern tech stack relies heavily on open source projects, and this event is about giving back to these projects through learning and collaboration.
Participating in Hacktoberfest
Want to join Hacktoberfest too? You’ll need a basic working knowledge of Git. The folks at DigitalOcean have provided a handy Git reference guide if you need a refresher.
Participation is simple:
- Sign-up for Hacktoberfest at https://hacktoberfest.com/ .
- Submit a Pull Request (PR) to a GitHub or GitLab hosted project.
- Earn a digital badge when your first PR is accepted (i.e. approved and merged into the main branch) by the project’s maintainers.
- Level-up your badge for each additional accepted PR.
- Achieve the Super Contributor status when you have at least 6 accepted PRs.
My Hacktoberfest Contributions
I’m a regular contributor to Home Assistant (you can learn more about that here: My Open Source Development Journey: From User to Code Owner ) so I was excited when I learned that it is a Hacktoberfest participating project.
I have been busy with my career transition recently (I left my banking job to join Big Tech), and there were a number of improvements and issues which have been lingering in my mind for a while. After a short planning session, I was ready to start work on my PRs:
- Adding tests to improve code coverage.
- A number of code quality improvements.
- Updating documentation.
- Updating icons to make them compatible with dark mode.
With a strong knowledge of the project’s contribution guidelines and codebase, I was able to complete my PRs earlier than I had planned. By the 2nd week of October, I had managed to accumulate 6 accepted PRs. After a brief period of waiting, I was finally awarded the Super Contributor badge:
 | Thanks to the Home Assistant community who helped with the PRs! Here’s my GitHub Activity for October 2025 that helped me earn the badge! Stats: Submitted 22 PRs across 4 repositories. Reviewed 10 PRs across 2 repositories. |
Now that I’ve reached my Hacktoberfest goal, I’m back to working on feature enhancements, some of which have been in-progress even before Hacktoberfest began. These are much larger in scope and typically take a few weeks or even months to complete.
5 Nov update:
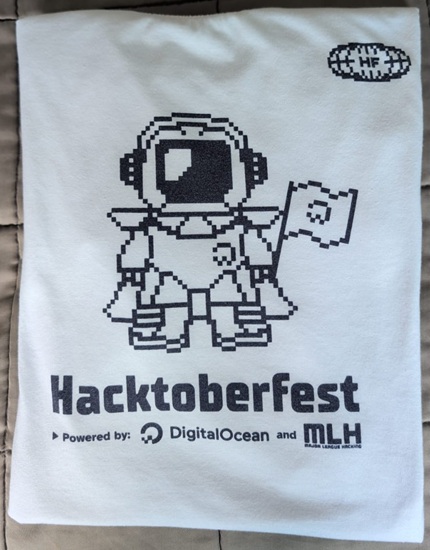
Thrilled to announce that I’ve received my Hacktoberfest T-shirt! Even better, most of my PRs made it to the Home Assistant 2025.11 release and one of my feature enhancements was highlighted in the release main page!
Addendum: A Contribution Guide
Itching to start contributing? Here’s a step-by-step guide:
- Find a project. Search for actively maintained projects with issues labelled
good first issueorhacktoberfest. To minimize the learning curve, you might want to narrow down your search to projects that use a tech stack that you are familiar with. This is the most challenging step. Find a project that you are passionate about and it won’t feel like a chore. - Review the project’s contribution guidelines. Study the project’s
README.md,CONTRIBUTING.mdor Wiki to understand the project’s coding style, naming conventions and PR submission processes to ensure that your PR meets the project’s standards to avoid unnecessary rework. - Fork the project’s repository to create a new independent copy of the project’s repository under your account.
- Clone your fork to create a local copy of your fork on your machine.
- Add an upstream to the original project to allow you to pull updates from the original repository into your fork and also submit PRs.
- Develop and commit your changes. Use clear and descriptive commit messages to provide the context of the change.
- Push your changes to sync your commits from your machine to GitHub.
- Create a new PR. Go to your fork in GitHub and create the PR. Ensure that your PR description explains the changes (e.g. the what-why-how) to help maintainers with the review.
- Wait for your PR to be reviewed. Patience is important here as maintainers typically have other PRs to review too.